
How To
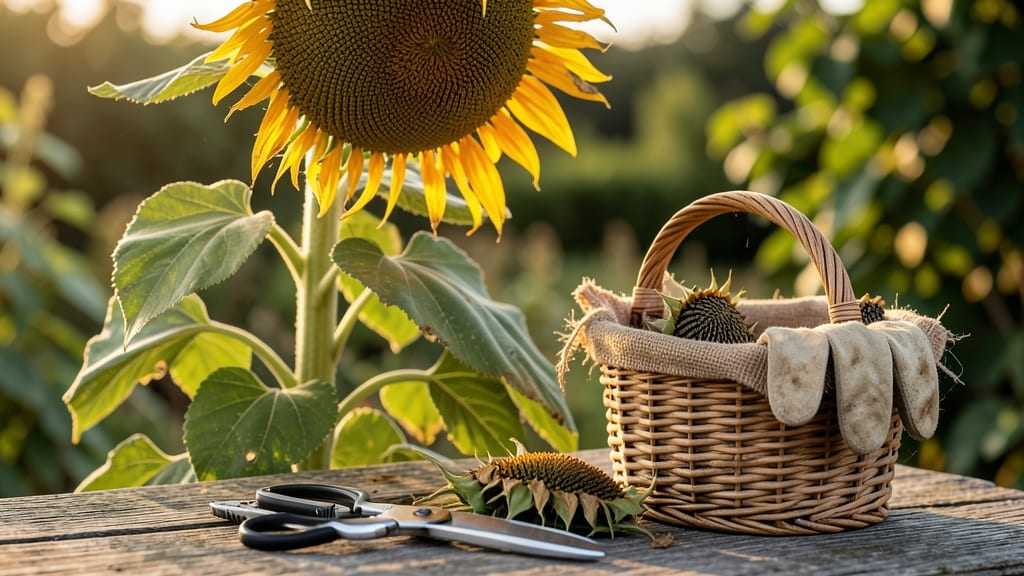
Timing the harvest of your sunflower heads for seeds wrong can mean the difference between rich, viable seeds and disappointment. Knowing when to harvest sunflower heads for seeds is the key to unlocking their full potential, whether you're saving them for next year's garden or crafting homemade birdseed.
Most gardeners wait until the 🌻 petals have completely fallen away and the back of the head turns a uniform brown—this is your first clue. But there's more to it than just color.
The seeds inside should rattle when shaken, and the center should feel completely dry to the touch, not just slightly crisp.
In USDA Zone 6a, where late summer's warm days meet early fall's crisp air, the ideal harvest window typically falls between late August and September. However, regional weather patterns can shift this timeline, so I'll show you how to adjust based on your local conditions.
Once you've mastered the art of spotting the perfect moment, I'll walk you through the 3-step process to collect, dry, and store your seeds properly—ensuring they stay fresh and ready for planting or snacking all year long. Let's get started.

How to identify perfectly ripe sunflower heads for seed harvesting
Harvesting sunflower seeds at the right time ensures high germination rates and nutrient-rich seeds for planting or snacking. The key lies in visual cues and tactile tests that reveal peak ripeness. I’ve learned from years of trial-and-error that skipping these steps leads to shriveled seeds or premature sprouting during storage.
Start by checking the petal color—ripe sunflowers shed their yellow-orange petals naturally, leaving the seed head exposed. This usually happens 4-6 weeks after flowering, depending on your climate zone.
In my Zone 6a garden, I see this shift in early September, while warmer regions may see it as late as October.
Next, examine the back of the head—this is the brown back test, my foolproof indicator. The papery, brown reverse side signals maturity. If it’s still green or white, wait 7-10 more days.
Pro tip: Use a magnifying glass to check for uniform browning—uneven coloring means some seeds may still need time.
Don’t overlook the seed rattling test—this is where I catch most mistakes. Hold the seed head upside down and give it a gentle shake. If seeds rattle loudly, they’re ready.
A dull thud means they need 1-2 more weeks. I once harvested a head that sounded ready but found 90% of seeds were underdeveloped—a costly lesson!
Pay attention to the stem’s condition too. A ripe sunflower’s stem base turns yellowish-brown and feels dry to the touch. If it’s still green or flexible, the seeds aren’t mature.
I use my fingernail test: press the stem—if it snaps easily, it’s ready; if it bends, wait longer.
Regional differences matter—cooler climates like mine (Zone 6a) need longer drying times than hot, dry regions. In my experience, August-frost areas should harvest by mid-September, while Zone 9+ gardens can wait until October or November.
Always check your local frost dates to avoid frost damage to ripe heads.
One mistake I see often is harvesting based on size alone. A large head doesn’t guarantee ripe seeds—always combine visual and tactile checks. I’ve seen giant heads with green centers and tiny heads packed with perfect seeds. Trust the tests over assumptions for the best results.
For conservative harvesters, wait until 90% of petals have fallen—this maximizes seed quality. But if squirrels or birds are stripping seeds early, harvest as soon as the back turns brown. I’ve used bird netting to protect heads when needed, though it’s not always necessary.
Finally, harvest on a dry, sunny day to speed drying. Cut stems 1-2 inches below the head and hang them upside down in a well-ventilated area. This prevents mold growth and ensures even drying. With these cues, you’ll never miss the perfect harvest window again. 🌻
The dry center test: 3 signs your sunflower seeds are harvest-ready
Once you've confirmed the back of the sunflower head is uniformly brown and the petals have fallen, the next critical step is the dry center test. This method reveals whether the seeds inside are truly mature and ready for harvest.
I’ve found that many gardeners overlook this step, leading to seeds that either won’t germinate or sprout prematurely during storage. The dry center test is your final quality check before harvesting.
Start by splitting open a sunflower head with a sharp knife or your hands. Gently pry apart the papery bracts covering the seeds. Look for a completely dry center—this means the seeds are mature and ready.
If the center still feels damp or the seeds are clinging together, wait 3-5 more days before harvesting. In my Zone 6a garden, I’ve seen heads that looked ready on the outside but had green, unripe centers—a frustrating discovery!
Harvesting sunflower heads too early results in underdeveloped seeds that won’t germinate, while harvesting too late can lead to moldy seeds or seeds that sprout in storage. The dry center test is your best defense against these mistakes.
If the center feels even slightly damp, wait at least 2 more days—patience here saves hours of wasted effort later.
Healthy, mature sunflower seeds should be plump and uniform in color, typically a creamy white or light tan. Avoid seeds that are shriveled, discolored, or hollow-sounding—these are signs of immaturity or damage.
I once stored seeds that looked fine on the outside but had empty shells inside, rendering them useless for planting. Always inspect a sample of seeds from each head before committing to a full harvest.
To perform the test safely, wear gloves and eye protection—sunflower seeds can be sharp and abrasive when dry. Use a clean, sharp knife to slice open the head lengthwise, then gently separate the bracts to expose the seeds.
If the seeds pop out easily and feel dry to the touch, they’re ready. If they stick together or feel gummy, the head needs more time on the plant.
Regional differences affect drying times—cooler climates like mine (Zone 6a) may need 1-2 extra weeks of drying compared to hot, arid regions.
In my experience, heads in humid climates are more prone to mold development if harvested too late, while dry climates can sometimes harvest seeds that are technically mature but still slightly green inside. Always prioritize the dry center test over external cues.
Once you’ve confirmed the seeds are ready, harvest on a dry, sunny day to prevent mold growth. Cut the stem 1-2 inches below the head and hang it upside down in a well-ventilated, dry area for 1-2 weeks to complete the drying process.
This ensures your seeds are fully mature and storage-ready. With this method, you’ll never second-guess your harvest timing again. 🌻