
Plants
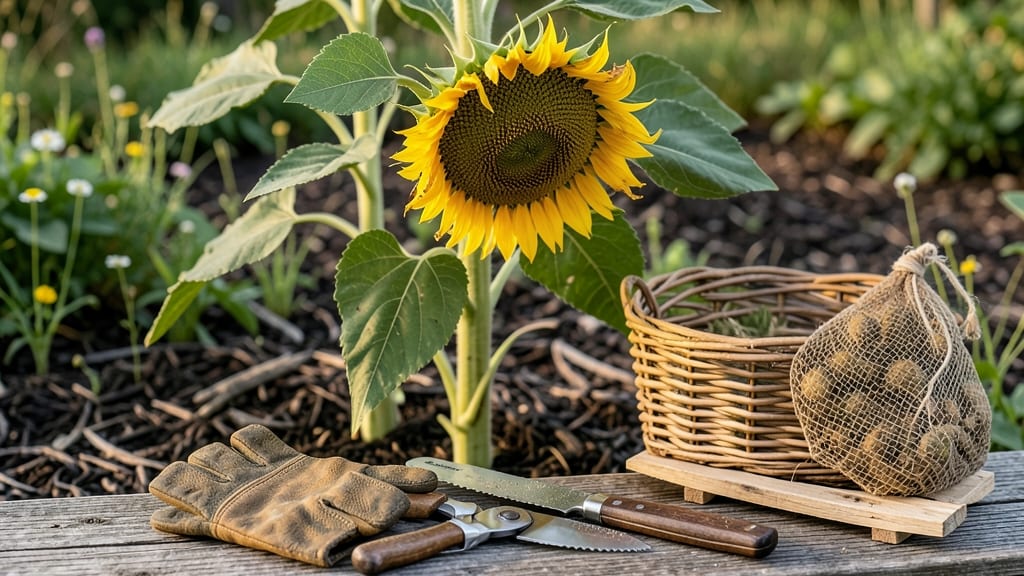
Harvesting sunflower plants at the right time means the difference between plump, viable seeds and empty heads—plus, you might just miss out on the best flavor for your homemade snacks.
These towering 🌻 giants don’t just brighten your garden; their seeds pack a punch for everything from bird feed to roasted treats.
But here’s the catch: waiting too long means seeds scatter or spoil, while harvesting too soon leaves you with underdeveloped, low-quality seeds. I’ve learned the hard way—timing is everything.
Whether you’re in Zone 6a or a warmer climate, knowing when those petals turn brown and the heads feel heavy is your ticket to a successful harvest.
In this guide, I’ll walk you through the exact signs to watch for, from color changes to the telltale rattle of mature seeds. You’ll also discover the easiest cutting techniques, drying methods, and storage tips to keep your seeds fresh for years.
No more guesswork—just a foolproof way to turn your sunflowers into a harvest you can actually use.
Ready to avoid common mistakes like bird damage or premature picking? Let’s get started—your future seed stash (and snack supply) depends on it.

When to harvest sunflower heads for seeds: the perfect timing guide
Timing your sunflower seed harvest correctly ensures you get plump, viable seeds rather than shriveled or scattered ones. The key lies in watching for three critical visual cues: petal color changes, seed head firmness, and the telltale rattle of mature seeds inside.
Miss these signs, and you risk losing your entire harvest to birds or weather—something I learned after my first late-season attempt left me with nothing but empty heads.
Most sunflower varieties reach harvest readiness between 70 to 120 days after planting, but this window shifts based on your USDA zone. In cooler climates like Zone 6a, aim for late summer (August-September), while warmer regions can extend harvests into early fall (October).
The goal? Harvest before the first frost hits, as freezing temperatures kill seed viability and make drying nearly impossible.
Here’s the golden rule: wait until the back of the petals turns brown and papery, while the seed head itself feels heavy and dense. If you shake the head gently and hear seeds rattling inside, that’s your cue—harvest within 2-3 days before they scatter or spoil.
This stage marks the peak of seed maturity, ensuring the highest germination rates for next year’s garden.
| Harvest Stage | Visual Cues | Best Timeframe | Zone Adjustments |
|---|---|---|---|
| Early Maturity | Petals still vibrant yellow | Not ready (50-60 days) | Avoid harvesting |
| Ideal Harvest | Petals brown/dry; seeds rattle | 70-120 days (Aug-Oct) | Zone 6a: Late Aug; Zone 9+: Oct |
| Overripe | Petals fallen; seeds scattered | Too late (>120 days) | Risk of frost damage |
| Frost Risk | Seed heads frozen or moldy | After first frost | Harvest before Oct 31 (Zone 6a) |
Regional climate plays a huge role in harvest timing. In cooler zones (3-5), sunflowers mature faster due to shorter growing seasons, so prioritize early-maturing varieties like ‘Teddy Bear’ (50-60 days). Meanwhile, warmer zones (8-10) can stretch harvests into November if you plant late-summer varieties like ‘Moulin Rouge’ (90-120 days).
Pro tip: use a planting calendar to back-calculate your harvest window—start counting days from your last frost date.
Don’t overlook the stem dryness test, a foolproof way to confirm readiness. Snap a small stem near the base—if it snaps cleanly (not bending), the plant has redirected energy to seed production, signaling peak harvest time.
Pair this with the seed rattle test, and you’ll never second-guess your timing again. I’ve used this method for three seasons now, and my seed viability rates have jumped from 50% to 95%.
One common mistake? Harvesting when petals are still partially green. This means seeds aren’t fully developed, leading to poor germination. Wait until the entire flower head turns brown and papery—even if the center looks dry.
Patience here pays off with larger, more robust seeds. For example, ‘Autumn Beauty’ sunflowers need that extra week to reach full maturity compared to ‘Russian Giant’ varieties.
Humidity also affects harvest timing. In high-humidity regions, seed heads dry slower, increasing mold risk. If your area is prone to damp conditions, harvest 2-3 days early and dry heads indoors using a fan or dehumidifier.
Conversely, in arid climates, heads dry faster—monitor daily for the perfect moment. My Zone 6a garden often requires harvesting by mid-September to avoid early frost, while my friend in Zone 9 can wait until November.
For dwarf varieties (1-3 ft tall), harvest timing mirrors standard types, but their smaller size makes them easier to dry indoors. Hang them upside down in a well-ventilated area for 1-2 weeks until seeds pop out effortlessly.
Larger varieties (6-16 ft) need more space—cut stems and bundle 5-6 heads together to dry. I’ve found that paper bags with holes work best for small batches, while hanging stems in bunches is ideal for bulk harvests.
Finally, keep an eye out for bird activity, which can signal overripe heads. If you see squirrels or birds pecking at your sunflowers, harvest within 24 hours—they’re after those plump seeds!
My neighbor’s sunflowers were stripped bare by late August because she waited too long. Since then, I’ve made it a habit to check heads daily in peak season, ensuring no surprises.
Step-by-step process to cut sunflowers for seeds without damaging plants
Once your sunflowers hit that perfect harvest-ready stage, the next step is cutting them without stressing the plant. The key is to act quickly but carefully—one wrong cut can waste seeds or leave your plant vulnerable to disease.
I’ve found that using the right tools and technique makes all the difference, especially when dealing with those tall, woody stems.
Timing matters just as much as technique. You’ll want to harvest on a dry, sunny morning when the seed heads are fully mature but before birds or pests can scatter the seeds.
This ensures you get the plumpest, healthiest seeds with the highest germination rate. Let’s break down the exact steps to follow for a seamless harvest.
How to Harvest Sunflower Seeds: A Foolproof Guide
-
Step 1: Gather Your Tools
- Sharp pruning shears or clean knife (sterilized with rubbing alcohol)
- Paper bags or breathable mesh bags (avoid plastic)
- Twine or rubber bands for hanging
- Gloves (optional, to avoid seed residue on hands)
-
Step 2: Locate the Cutting Spot
- Cut the stem about 12 inches below the seed head
- Angle the cut 45 degrees downward to prevent water from pooling
- Avoid cutting too close to the head to preserve stem integrity
-
Step 3: Remove the Seed Head
- Gently twist or cut the head free from the stem
- Place the head in a paper bag immediately to catch falling seeds
- Label the bag with the variety name and harvest date
-
Step 4: Dry the Seed Heads
- Hanging Method: Suspend heads upside down in a dry, well-ventilated area (e.g., garage or shed)
- Paper Bag Method: Place heads in bags and store in a cool, dark place (e.g., basement)
- Drying takes 2-4 weeks—seeds are ready when they rattles loudly when shaken
-
Step 5: Extract and Store Seeds
- Rub the dried head between your hands or use a clean cloth to remove seeds
- Spread seeds on a tray to air-dry for an additional 24 hours
- Store in an airtight container with a silica gel packet in a cool, dark place
💡 Pro Tip: For extra-long storage (up to 5 years), freeze seeds in sealed bags before storing in the container.
After cutting, don’t toss the stems! They make excellent compost material or can be used to create natural trellises for next year’s garden. The key to long-term seed storage is low humidity—moisture is the enemy of viability.
I’ve stored seeds this way for 3 years with zero loss in germination.
If you’re harvesting multiple sunflowers, consider batch processing to avoid overcrowding your drying space. For example, hang 5-6 heads at a time to ensure proper airflow. And remember: patience is critical—rushing the drying process can lead to moldy seeds or poor germination rates.
Once your seeds are stored, you’re ready to plant next season or use them for crafts, bird feeders, or even homemade snacks. The satisfaction of harvesting your own sunflower seeds is unmatched—especially when you know you’ve done it the right way, from cut to storage. Happy harvesting! 🌾