
Flowers
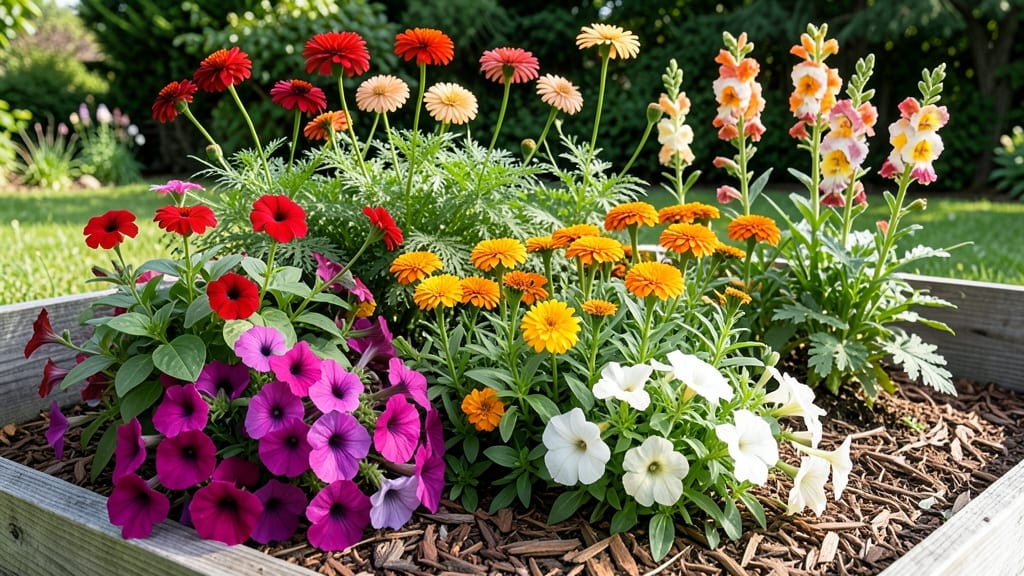
Transform your garden into a vibrant, eye-catching space with a pallet flower bed—a budget-friendly way to turn simple wood into a stunning display that’s both functional and stylish.
This creative approach isn’t just about aesthetics—it’s also a sustainable solution that repurposes materials you might already have lying around. Whether you’re working with a small balcony or a sprawling backyard, pallet gardens offer endless design possibilities while keeping costs low.
From vertical arrangements to tiered setups, I’ll show you how to build and style your own pallet flower bed with minimal effort. You’ll discover the best plants for your 6a zone, easy maintenance tips, and ways to make it uniquely yours—no green thumb required!
Ready to add a touch of charm without breaking the bank? Let’s get started on your next garden project today.
15 Unique pallet flower bed designs for every garden style
I love how pallet flower beds transform discarded materials into stunning garden features while adding vertical space and visual interest. Whether you have a cozy cottage garden or a sleek modern patio, these designs prove pallets aren't just for shipping—they're perfect for creative gardening.
The best part? They're budget-friendly and eco-conscious, repurposing wood that might otherwise end up in a landfill.
From tiered arrangements that create cascading waterfalls of blooms to hanging designs perfect for balconies, each idea below offers unique ways to showcase your favorite flowers. I've included plant pairing suggestions to match different garden themes, so you can create a look that's truly one-of-a-kind.
Let's explore how to turn simple pallets into your garden's star attraction!
My favorite design for cottage gardens is the tiered waterfall pallet, where I arrange trailing plants like coleus and begonias to create lush, flowing layers. The key is to place taller plants at the back and let them spill over the edges for that whimsical charm.
For modern spaces, I prefer the vertical stacked design with clean lines and succulents that thrive in minimal soil.
If you're working with limited space, consider the hanging pallet design. It's perfect for balconies and can be filled with spiller plants like fuchsias or lobelia. The best part?
You can easily move it to follow the sun throughout the day. I always recommend using weather-resistant pallets treated with non-toxic sealant to ensure longevity, especially in rainy climates.
For a tropical vibe, I love covering pallets with moss and planting bromeliads or orchids. The combination of lush greenery and exotic blooms creates an instant jungle feel.
This design works beautifully in shaded areas where traditional flowers might struggle. Remember to use well-draining soil to prevent root rot in these moisture-loving plants.
One of my most popular designs is the spiral pallet garden, which creates a stunning focal point for Mediterranean-themed spaces. I plant drought-tolerant herbs like lavender and rosemary in the center, surrounded by vibrant annuals.
The spiral shape adds movement to the garden while saving space—perfect for small yards or urban courtyards.
Don't overlook the edible pallet garden! This raised tiered design combines flowers with herbs and vegetables, making it both beautiful and functional. I love planting <
How to build a pallet flower bed: step-by-step guide
Building a pallet flower bed is one of the most rewarding DIY garden projects you can tackle. With just a few basic tools and some creativity, you can transform simple wooden pallets into a stunning vertical garden that adds charm to any outdoor space.
The best part? You’re giving new life to materials that might otherwise end up in a landfill.
Before you begin, ensure your pallets are untreated wood—this is critical to avoid harmful chemicals leaching into your soil. If you’re unsure, check for stamps like "HT" (heat-treated) or "MB" (methyl bromide-treated).
For a 6a zone garden, spring is the ideal time to start, but you can build your structure anytime and plant later.
Step-by-Step Guide to Building Your Pallet Flower Bed
- 1 Prep Your Pallets: Sand down rough edges and remove any nails or staples. Let them weather for a few weeks if possible to prevent warping.
- 2 Choose Your Design: Decide between a vertical, tiered, or horizontal layout. For beginners, a single pallet with 4-6 inches of soil depth works perfectly.
- 3 Line the Pallet: Place a landscape fabric at the bottom to prevent soil from falling out. Secure it with staples or screws.
- 4 Add Soil and Drainage: Fill with a mix of potting soil and compost (60/40 ratio). For better drainage, add a layer of small rocks at the bottom.
- 5 Install a Watering System: Drill small holes in the bottom for drainage and add a drip irrigation line or a simple watering can for easy maintenance.
- 6 Plant Your Flowers: Choose drought-tolerant plants like petunias, marigolds, or zinnias. Space them 6-12 inches apart for optimal growth.
- 7 Secure and Decorate: Attach your pallet to a sturdy wall or fence. Add mulch to retain moisture and enhance aesthetics with solar lights or painted accents.
Once your pallet flower bed is assembled, place it in a spot with 6+ hours of sunlight daily for best results. Water deeply in the morning to keep roots hydrated without inviting pests.
In Zone 6a, mulch around the base to protect roots during cooler months and reduce watering needs.
Seasonal maintenance is minimal—just remove spent blooms to encourage new growth and refresh mulch annually. With the right care, your pallet garden will thrive for years, offering a stunning display of color and texture while keeping your space eco-friendly and stylish.
Ready to get started? Grab a pallet and let your creativity bloom—your garden will thank you! 🌸🌿