
Flowers
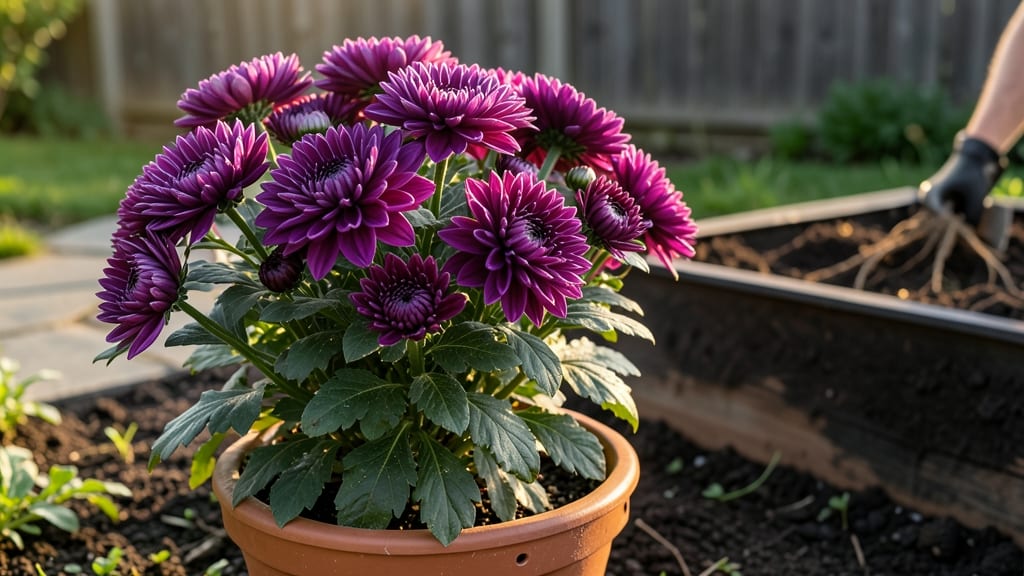
Caring for mum flowers 🌼 means unlocking their secret to bold, long-lasting blooms that turn heads all season long—but most gardeners miss the key steps that make the difference.
These vibrant perennials aren’t just fall favorites; with the right approach, they’ll reward you with healthier growth and brighter colors year after year.
I’ve learned the hard way that skipping just one care step—like proper watering or strategic pruning—can turn your showstopping mums into a sad, wilting mess. The good news? Mastering a few simple habits will keep them thriving, whether you’re a beginner or a seasoned gardener looking to elevate your skills.
From picking the perfect planting window to troubleshooting common problems like yellowing leaves or floppy stems, I’ll walk you through everything you need to know. By the end, you’ll have a clear, step-by-step plan to keep your chrysanthemums looking their absolute best—no guesswork required.
Ready to transform your garden into a nonstop parade of color? Let’s dive into the exact care routine that’ll have your mums blooming like never before.
Seasonal mum flower care guide: what to do each month
Mums (chrysanthemums) thrive when you align their care with nature's seasonal rhythms. These fall favorites need year-round attention to deliver bold blooms and healthy growth. Whether you're in zone 5 with harsh winters or zone 9 with mild climates, adjusting your routine monthly keeps your mums flourishing.
Let's break down the essential tasks for each season to maximize their potential.
Your mums' care calendar starts with spring awakening and ends with winter dormancy prep. Each month brings specific needs—from fertilizing in summer to mulching in fall. The key is understanding how temperature shifts, daylight changes, and rainfall patterns affect their growth.
For example, zone 5 gardeners should protect plants from late frosts, while zone 9 growers focus on heat tolerance and consistent moisture.
🌼 MUM CARE SUMMARY TABLE 🌼
| Month | Primary Task | Zone 5 Adjustments | Zone 9 Adjustments |
|---|---|---|---|
| January | Check mulch layer (2-3 inches) | Add extra mulch (4-6 inches) | Light mulch (1-2 inches) |
| February | Prune dead stems | Wait until March for pruning | Prune + fertilize lightly |
| March | Test soil pH (6.0-6.5 ideal) | Amend soil with compost | Add slow-release fertilizer |
| April | Divide overcrowded plants | Plant new divisions after frost | Divide in cooler months |
| May | Pinch back new growth | Apply frost cloth if late frost | Start regular watering |
| June | Fertilize with 5-10-10 | Use shade cloth if intense sun | Mulch to retain moisture |
| July | Deadhead spent blooms | Water deeply in heatwaves | Watch for powdery mildew |
| August | Reduce watering gradually | Protect from early frosts | Continue deadheading |
| September | Feed with bloom booster | Apply winter mulch | Harvest cuttings for forcing |
| October | Cut back foliage after frost | Cover with frost blanket | Remove dead blooms |
| November | Inspect for pests | Add extra mulch protection | Light winter watering |
| December | Monitor snow cover | Check for rodent damage | Plan spring planting |
Let's start with spring prep (March-May), where you'll focus on soil preparation and early growth stimulation. After winter dormancy, mums need nutrient-rich soil to support new shoots. In zone 5, wait until after the last frost to plant new divisions, while zone 9 gardeners can start earlier.
The key is ensuring 6+ hours of sunlight daily—this is non-negotiable for vibrant blooms.
During summer months (June-August), your mums demand consistent moisture and regular deadheading. Water deeply in the morning to prevent fungal issues, and always water at the base of plants. In zone 9, watch for powdery mildew—a common fungal problem in humid climates.
Apply neem oil preventatively if you notice white powder on leaves. For zone 5 gardeners, late summer is prime time to divide overcrowded plants.
As fall approaches (September-November), shift focus to bloom extension and winter prep. Feed your mums with a low-nitrogen fertilizer (like 5-10-10) in early September to encourage late-season blooms.
In zone 5, apply a 4-6 inch mulch layer after the first frost to insulate roots. Zone 9 gardeners can enjoy extended blooms by cutting back dead flowers and providing light winter watering every 3-4 weeks.
Winter care (December-February) is about protection and planning. In colder zones, mums are dormant perennials—they don't need water but do need mulch protection. Check for rodent damage (they love mum roots!) and add extra mulch if temperatures drop below 20°F.
Meanwhile, zone 9 gardeners can start planning spring divisions or even force indoor blooms by bringing potted mums inside before temperatures drop.
One critical tip for all zones: prune strategically. Never prune in fall—this encourages new growth that won't survive winter. Instead, prune in early spring (March) to shape plants and remove dead stems.
For container mums, winter care differs slightly—move pots to protected locations and reduce watering to once monthly during dormancy.
Remember, mum varieties have different
Common mum flower problems and how to fix them
Even the hardiest mum flowers can develop issues if their care needs aren't met. Yellowing leaves, floppy stems, and bud drop are all common signs your chrysanthemums need attention. The good news? Most problems have simple solutions—once you know what to look for and how to act fast.
I’ve seen mums go from looking sad and struggling to bursting with vibrant blooms in just a few weeks by addressing these key issues.
Let’s start with the most frequent culprits: overwatering and nutrient deficiencies. These two often work together to create a perfect storm of poor health in your mums.
Overwatering leads to root rot, which prevents the plant from absorbing essential nutrients like nitrogen and potassium—both critical for leaf health and bloom production. The result? Yellowing leaves that start at the bottom and work their way up the plant.
🌼
⚠️ Warning: Don't Ignore These Signs!
- Yellow leaves + soft stems = Overwatering or root rot
- Bud drop before opening = Stress from heat or drought
- Stunted growth + pale foliage = Nutrient deficiency
- Sticky leaves = Aphid infestation (act fast!)
These symptoms often appear together—treat the root cause, not just the symptom!
If your mums are showing signs of yellowing leaves, the first step is to check the soil moisture. Stick your finger about an inch into the soil—if it feels damp, you’re overwatering.
Let the top 2-3 inches of soil dry out between waterings, and make sure your pots or garden bed have proper drainage. For container-grown mums, use pots with drainage holes and a well-draining potting mix with perlite or sand.
Next, give your mums a balanced fertilizer like 5-10-10 to replenish lost nutrients. Apply it in the morning when the soil is dry, following the package instructions for dosage.
For established plants, I recommend fertilizing every 4-6 weeks during the growing season (June through September). This consistent feeding helps prevent nutrient deficiencies that cause yellowing and poor blooming.
Another common problem is bud drop, where flower buds form but then fall off before opening. This usually happens when mums experience heat stress or drought conditions. To prevent bud drop, keep your plants well-watered during hot, dry spells—aim for about 1-2 inches of water per week.
Mulching around the base of the plant with 2-3 inches of organic mulch (like shredded bark) helps retain soil moisture and keeps roots cool.
Pests like aphids and spider mites can also wreak havoc on your mums, causing leaves to curl, yellow, or develop sticky residue. If you spot tiny green or black insects clustering on new growth, act quickly by spraying the plants with a strong stream of water to dislodge them.
For severe infestations, use an insecticidal soap or neem oil—both are effective and safe for your garden when used as directed.
Finally, don’t forget to prune regularly to encourage bushier growth and better air circulation. Pinch back the tips of new growth in early summer to promote branching, and remove any dead or diseased foliage immediately.
This simple habit reduces stress on the plant and helps prevent pest and disease problems from taking hold.
🌿