
How To
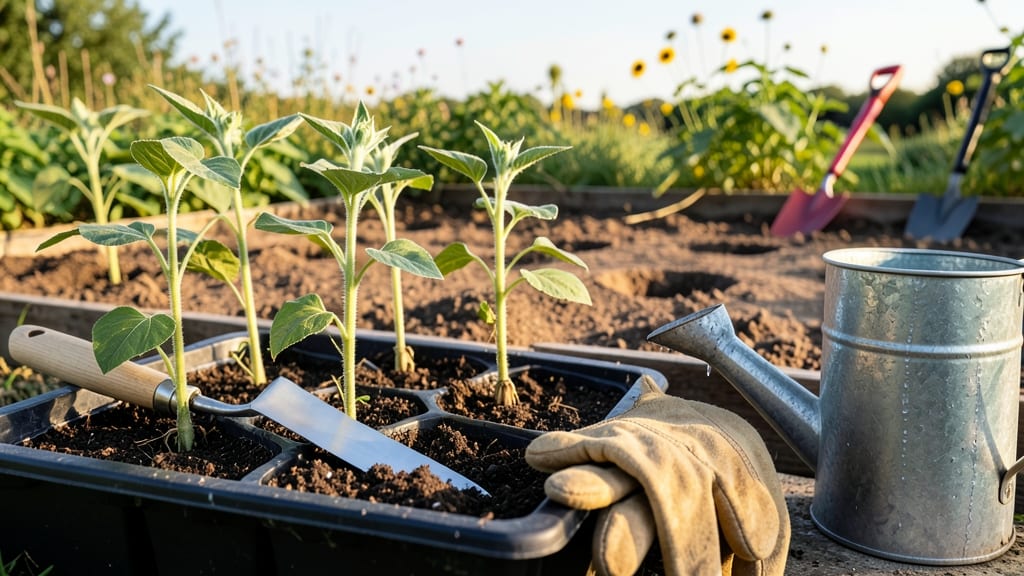
Transferring sunflower seedlings too soon can turn your 🌻 dreams into leggy, floppy failures—but getting the timing right means strong stems and towering blooms by summer. The key isn't just waiting for warm weather; it's checking soil temperature first.
Cold soil shocks delicate roots, while warm earth gives them the confidence to thrive.
Most gardeners in USDA Zone 6a aim for late April to early June, but rushing the process risks stunted growth. Instead of guessing, use a simple soil thermometer test: wait until the ground stays above 50°F consistently.
This small step makes all the difference between scraggly stalks and the 10-foot giants you planted for.
You'll also want to watch for nighttime temperatures dipping below 40°F—that's when seedlings throw in the towel. Hardening them off for 7-10 days before transplanting builds resilience, so don't skip this crucial prep work. Let me show you exactly how to time it perfectly for your climate.
With the right approach, your sunflowers will shoot up faster than weeds—and you'll avoid the heartbreak of watching them flop over before they even bloom. Let's get those seedlings in the ground the right way.
The perfect soil temperature test for sunflower seedling transplanting
Sunflowers thrive when transplanted into warm soil, but rushing the process leads to leggy stems and poor root establishment. The key? A consistent soil temperature above 50°F for at least 7-10 days.
Cold soil shocks delicate roots, stunting growth and inviting disease. Let's test your soil the right way to avoid these pitfalls.
Start by checking your local frost dates—sunflowers hate frost! In most regions, aim for late April to early June transplants. But don’t rely on dates alone; soil temperature is the true indicator.
Use a soil thermometer (insert 2-3 inches deep) to confirm warmth before moving seedlings. Morning readings are most reliable since soil cools overnight.
⚠️ CRITICAL RULE: Never transplant if nighttime temps dip below 55°F. Sunflowers are sensitive to chilly evenings, which slow root growth and invite fungal issues. Pair your soil test with a 5-day weather forecast to ensure stable warmth.
While soil temperature is non-negotiable, don’t overlook moisture levels. Sunflowers prefer evenly moist soil but hate soggy conditions. Water your garden bed 1-2 days before transplanting to settle the soil, then let it dry slightly to prevent root rot.
A quick finger test—if the top inch feels dry, it’s ready.
For USDA Zones 1-5, extend your soil test to 10-14 days due to slower warming. Use black plastic mulch or row covers to accelerate heating if needed. In warmer zones (6-10), aim for early April transplants, but monitor for sudden cold snaps that can reverse progress.
Pro tip: Transplant on a cloudy day to reduce stress. The diffused light helps seedlings acclimate while protecting them from harsh afternoon sun. Water thoroughly immediately after transplanting to settle roots and maintain moisture for the first critical week.
Watch for yellowing leaves post-transplant—a sign of shock. This often means the soil was too cold or the seedlings weren’t hardened off. If you see this, move plants to a shaded spot for 2-3 days and water deeply.
With the right soil temp test, your sunflowers will shoot up straight and strong.
Remember: Patience wins. Rushing leads to leggy, weak stems that flop under their own weight. A well-timed transplant sets the stage for 6-foot-tall giants with vibrant blooms—worth the wait! 🌻
Signs your sunflower seedlings are ready for transplanting (beyond temperature)
While soil temperature is crucial, your sunflower seedlings must also show physical readiness before transplanting. Look for strong stems and healthy foliage—these indicate they can handle outdoor conditions without shock. I’ve learned the hard way that leggy, pale seedlings won’t survive transplanting, no matter how warm the soil.
Start by checking the leaf count. Ideal seedlings should have 4-6 true leaves (not just cotyledons) and a thickened stem. These traits signal the plant has developed enough energy reserves to support new growth. Skipping this step often leads to floppy stems that snap in wind or rain.
- ✔ 4-6 true leaves (not cotyledons)
- ✔ Thickened stems (1/8" diameter or thicker)
- ✔ Deep green leaves (no yellowing or browning)
- ✔ Roots filling container (gentle tug test)
- ✔ No signs of pests (aphids, spider mites)
Don’t overlook root development. Gently squeeze the container—if roots are crowded and tangled, it’s time to move them. I use the "tug test": hold the seedling by a leaf and lift.
If roots resist slightly (not break free), they’re ready. Overgrown roots in small pots lead to transplant shock and stunted growth.
Before transplanting, harden off seedlings over 7-10 days. Start with 2-3 hours of sunlight daily, gradually increasing to full sun. This toughens stems and prevents sunburn on leaves.
I place my seedlings in a shaded outdoor spot during the day and bring them back inside at night for the first few days.
Finally, check for pest-free status. Inspect leaves for holes, webbing, or sticky residue—signs of pests. I’ve found that neem oil spray applied 24 hours before transplanting helps deter pests. Healthy seedlings with no damage will bounce back faster after moving outdoors.
Once you’ve confirmed these signs, your sunflowers are ready to thrive in their permanent spot. Watch them grow from seedling to towering giant—it’s incredibly rewarding! 🌻